

This cute cake pop design is one of Bakerella's newest creations, offering a bite-sized way to indulge in the winter months. The most ingenious part of the Cocoa Cake Pops are the way they are put together. Rather than having a round base, the mug-like forms are simple to shape into cylinders. To get a perfect C-shaped handle, Bakerella simply uses a candy mold.
The adorable finishing touches that are put on the mini mugs are the tiny marshmallows that are stacked into the cups, as well as the designs that are painted on the mugs. Although the red hearts are easy enough to recreate, these icons could be swapped out to suit any celebration or initials to personalize each cake pop for individual party guests.

I’d rather be thinking about spring-themed treats right about now, but man… Winter will not leave. So I made these adorable little mugs of not-so-hot cocoa. Hopefully we’ll be on to warmer weather soon, but in the meantime, I hope you enjoy these cold weather inspired cocoa cake pops. I love how cute they turned out!
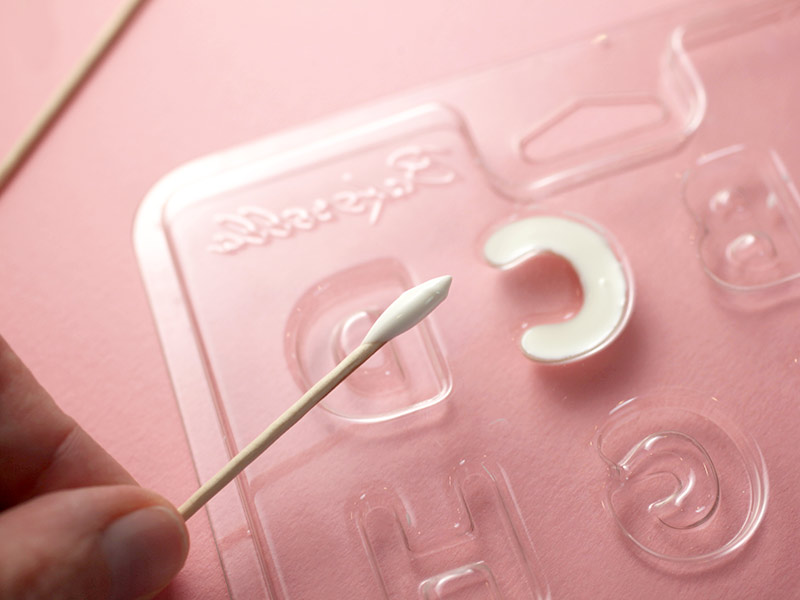
I wanted perfectly-shaped handles for the mugs to help pull off the look, so I thought I could use my Letters Candy Mold to make them and I think they turned out pretty great. If you don’t have a candy mold that would work, you could also just pipe thick C shapes on to wax paper.
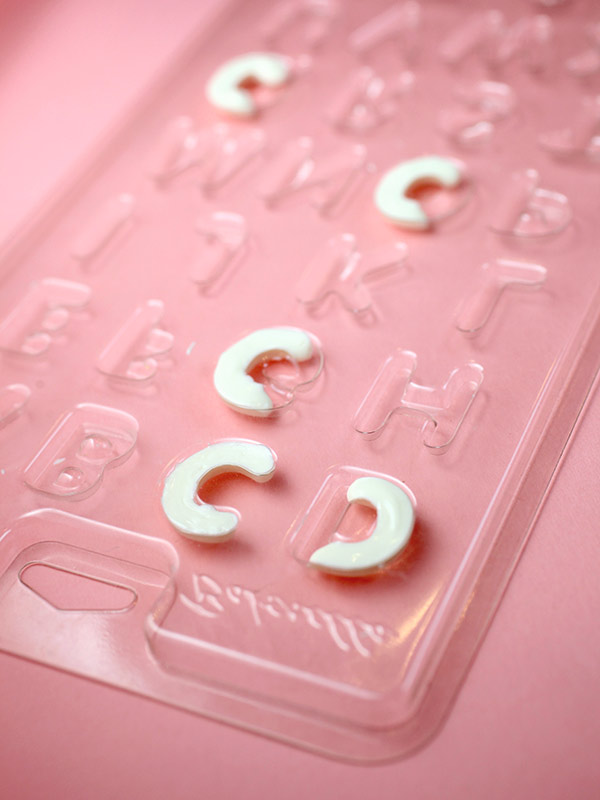
To use the mold, fill the shapes with melted candy wafers using a toothpick or squeeze bottle. Place the mold in the fridge for a few minutes for the candy to set. To release the letters from the mold, give it a gentle twist and push on the plastic from the bottom of the shapes to help release the letters. Hold the mold over a towel so the letters won’t break as they fall out from the mold.
I used the letter C and also used D, G, O, Q by filling a curved portion of those letters to mimic the C.
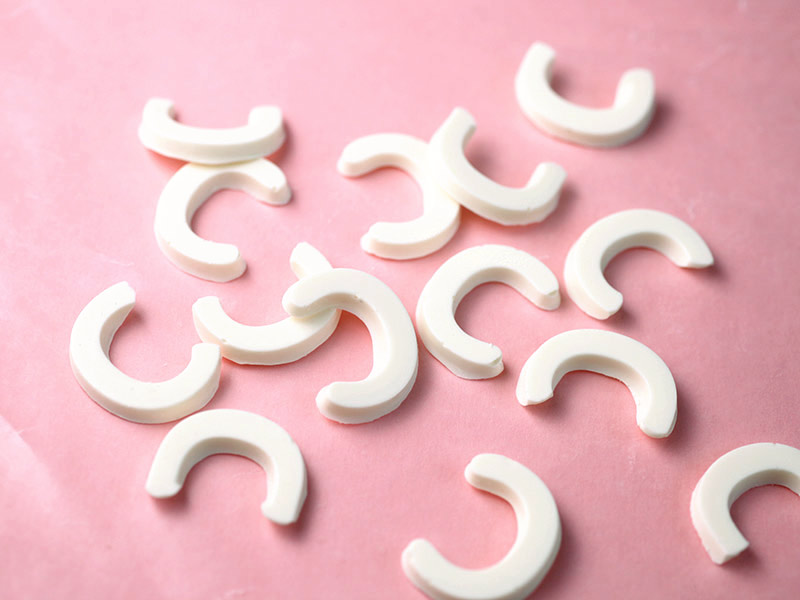
You can make the handles ahead of time and then just save them until you need them.
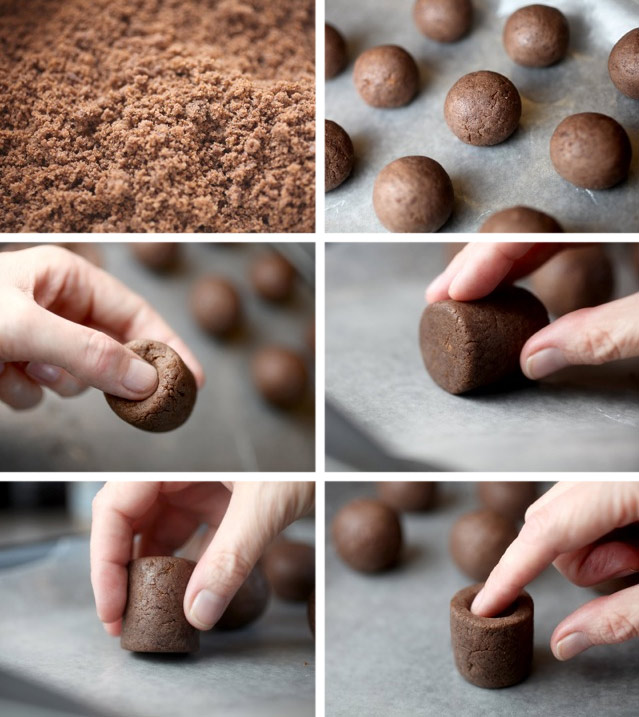
Here are the basic cake pop instructions to get you started. Once you have them rolled into balls, continue shaping them by hand. Make an indentation on one end and then roll, rotate and slide the ball on wax paper to form a cylinder like above. The wax paper makes it much easier to shape and achieve defined edges.
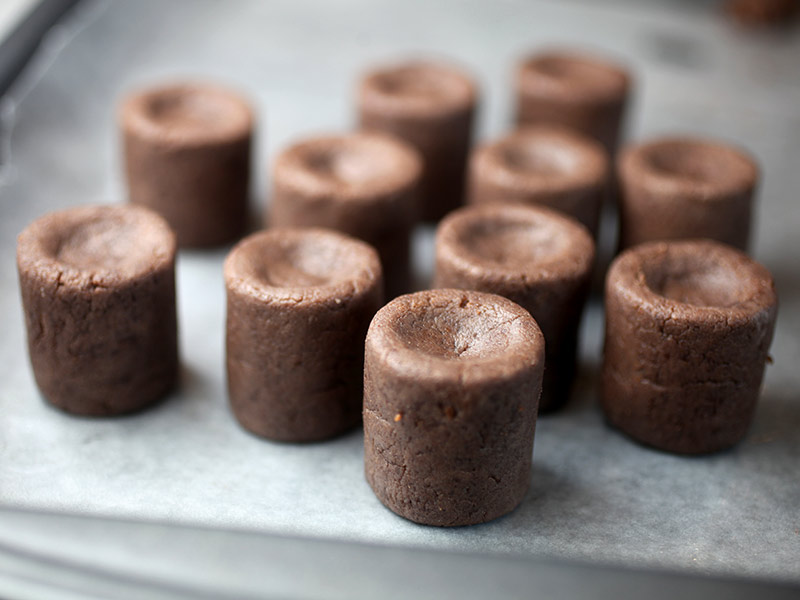
The indentation in the top of the cylinder shape will act as a well for the “cocoa”.

These pops are dipped in melted marshmallow white candy wafers first and then melted chocolate is placed in the well. If you made a perfect cylinder shape without a well and dipped the pops in coating, once you placed the chocolate coating on top for the cocoa it could look like it was sitting too high above the mug. But you can totally skip the whole indenting step if you want. They’ll still be cute.
Here’s how they are dipped and decorated.
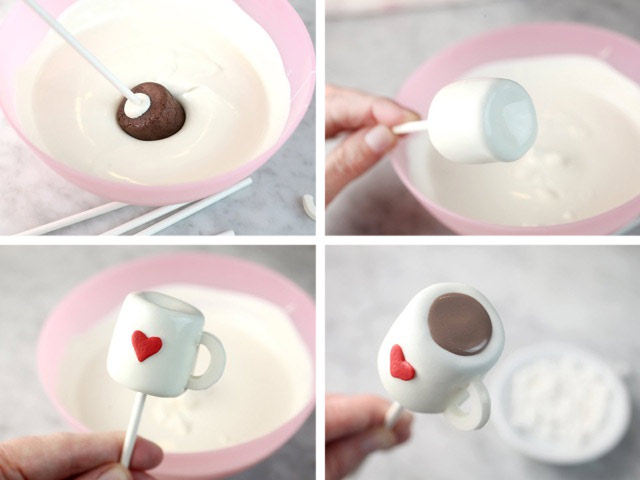
Dip the cylinder in the melted coating allowing the excess to fall off. Gently press a handle shape into the side of the pop and attach a red jumbo heart sprinkle on the front before the coating sets. Let dry completely and then fill the well with melted chocolate coating (Note: I mixed chocolate with vanilla to get a lighter, more cocoa-like shade of chocolate.) Use a toothpick to coerce the coating into a circular shape if needed. You can also gently tap the bottom of the pop stick on the counter to help settle and flatten out the coating.

But wait. We need teeny, tiny marshmallows for our cocoa.
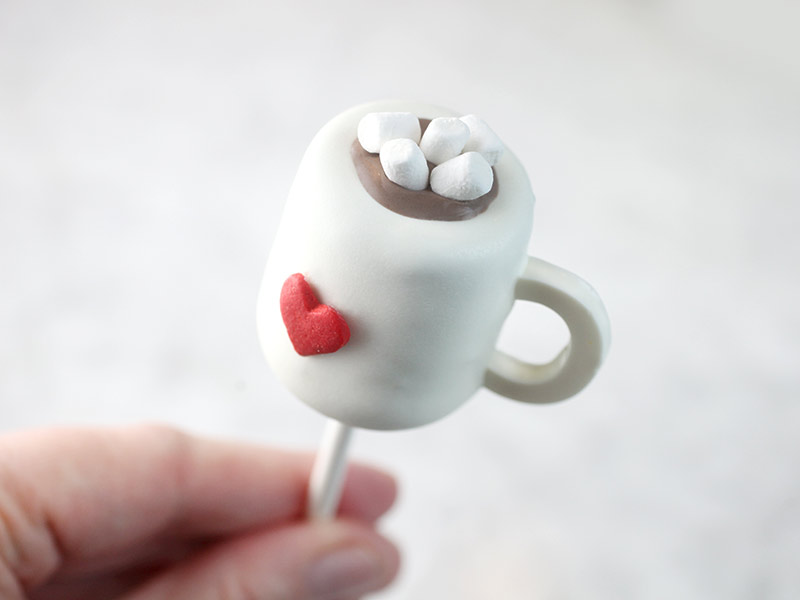
Before the chocolate sets, place 3-5 into the coating.
Oh so cute!

Enjoy!!! Hope these warm your heart.
No comments:
Post a Comment